Excitement and Nervousness
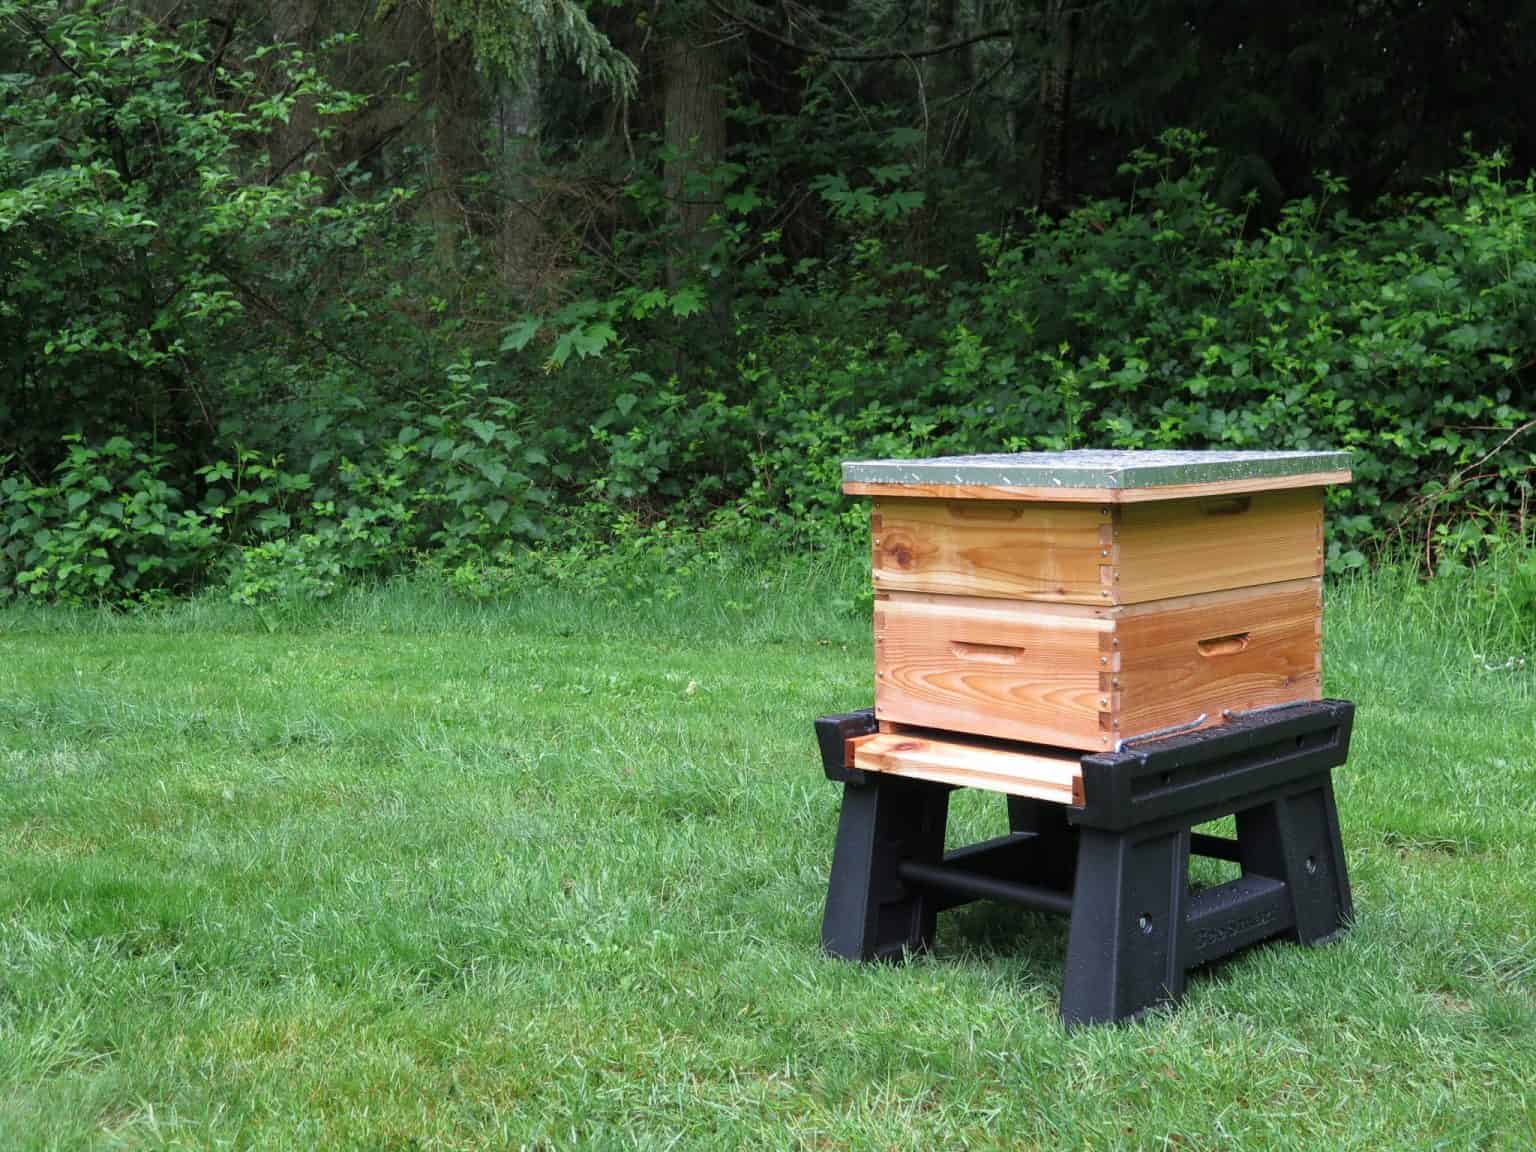
Beekeeping is a special and fascinating pastime. While bees continue to teach us through our beekeeping experiences and across the years, there’s quite nothing like that very first beehive. For many new beekeepers, this exciting time is tempered by a nervousness about what just to expect – and what to do – in those first couple of weeks.
This article offers a high-level view of that timeframe, in the hope you can build on this and become more confident about where your bees will lead you in these important few days.
Day 1
As a new beekeeper, you’ve likely purchased a package of bees. Day one is all about getting them in the hive. See our post for complete directions on doing that. You’ll note that the queen remains in the queen cage (with or without a couple of attendants depending on how she arrived). This is because she is not the mom of the bees in the hive and everyone needs some time to adjust to the pheromones or they’d kill her as an intruder.
Also, very important until you see foraging, but especially on day one, the bees will need to be fed a 1:1 sugar water mixture until they adjust to their new home and get their bearings relative to food sources. It’s preferable not to use an entrance feeder as it can encourage robbing. Also, do not feed with patties. Even if you’re comfortable with the potential chemicals in them, patties are meant for winter feeding and could lead to fat, lazy bees. The 1:1 mixture props them up until they’re settled, but doesn’t make them stop foraging.
You will also need to give your new charges a little help in protecting their new home. 10,000 bees sounds like a lot but, to them, a completely open entrance is a gaping hole they will struggle to defend effectively, if the need arise. For this reason, place an entrance reducer, using the smallest opening.
Days 2 – 4
The bees are still getting settled. If you’re lucky enough to have a window, you can take a fast peak through that, but do not open the hive. The bees need time to acclimate.
Yes, this is not easy, but remember it’s not about you!
Day 5
Don your bee gear and conduct your first hive check. See the article for your hive type on specifics there: Langstroth, Top Bar, and Warre.
During this first hive inspection, you’ll also need to check that the queen bee has gotten out of the queen cage (hopefully you have a marked queen, to make this a little easier to your untrained eye). Typically, she and the bees in the hive eat at opposite ends of the candy piece until it’s gone and she can wriggle out through the hole left behind. If this hasn’t happened, carefully remove the piece of candy, being careful not to crush the queen or let her fall out of the hive. If you can’t get the candy out, I’ve also VERY CAREFULLY removed the front screening from the queen cage and placed it back inside the hive so she can fly out on her own. It’s very important that the queen is free and alive so that she can start laying new brood and growing the hive colony.
Key points to remember: inspect during the day when it’s above 50°F and not raining. You may use a smoker or sugar water spray if you wish, however, if you do use a smoker, remember that the bees will think there’s a fire and prepare to leave the hive. They appear more docile only because they’re too busy gorging themselves on whatever food supplies they’ve gathered to this point.
If you see signs of foraging such as bees returning to the hive will pollen on their legs, you may remove the feeder during this first inspection. If not, fill the feeder and remove it on the next inspection.
Most important on this first inspection: despite your own nerves and excitement, project an air of calmness. The bees, much like they say of dogs, can smell fear and will sting you. By projecting an air of calmness, the bees will also remain calm. You’re less likely to be stung and will enjoy the experience of checking your hive much more than if you’re nerved up.
Days 6 – 11
See days two through four. Once again, the bees are hard at work. They’re building comb, foraging for food, and caring for the queen. It’s very tempting to open the hive and peek, but doing so will disturb the bees. Again, if you’ve got a window, feel free to peek once a day, but remember that letting too much light in is also disruptive. Bees like it dark and maintain the hive temperature and humidity. Giving in to curiosity and overly disturbing them will make them unhappy and less productive.
Day 12
Don your bee gear again and do your second hive inspection. You should start to see brood and other signs of activity consistent with bee math:
If hives are inspected on a weekly basis (every 7 days), the second hive check (14 days) should have both capped and uncapped larvae. The third check (21 days) should have evidence of born worker adults (open comb where there were capped cells and/or browning comb) and capped and uncapped larvae. The fourth check (28 days) should have all of that plus evidence of born drones (assuming there were any at the larval stage).
Days 13 – 14
Once again, leave the bees to do their thing. This is a great time to start sitting in or near the bee yard and listening to/observing the bees’ behavior. They’re settled and growing, observing them closely, outside the hive, provides an opportunity to learn about your bees, the hive’s temperament and what particular food sources are most appealing to them. From this point on, you can conduct regular weekly inspections, using the “bee math” noted above to understand your hives health.
Additional notes: there is no “typical” make up of a bee package. Other than the queen, you’re not guaranteed a certain number of drones or workers. The beekeeper from whom you purchased the package simply walks through the bee yard and scoops up random bees until the package weight is correct. Therefore, one of the first things the bees will do is build brood comb to bring the ratio of drones to workers back to their desired levels.
Another “first task” will be locating forage locations and communicating that back to the hive. They’ll also reinforce any air leaks in the hive with propolis to help them maintain the inner-climate.
A quick note about burr comb. Burr comb is the name we use for comb the bees build to fill in space. Humans often find it in the way or bothersome because it doesn’t conform to the frames or top bar space. Burr comb also seems to be more of an issue in Langstroth hives. Common practice has been to remove the burr comb, but as the bees feel it belongs there, they simply build it again. Thinking is shifting on this matter – rather than engage in this cycle, leave the burr comb. It’s possible the hive may be stronger and more productive with it. It’s up to you, the beekeeper, to decide, but personally, I’d leave it alone.
Happy beekeeping!

