Choices galore
Choices, choices … and more choices. It’s the lot of the beekeeper, whether beginner, experienced or somewhere in between. To add to the fun, we also discover not always consistent opinions from other beekeepers – often very strong opinions. There are many of those too, sometimes from the same beekeeper!
This is one of the joys of beekeeping. At almost every step there’s a decision to be made. Small or large, these decisions have implications for how we keep bees and how our bees live their lives and their chances of success.
The result of all this is that the new beekeeper, in particular, can often feel somewhat overwhelmed. Thankfully, many of the questions we face can be answered or researched in various ways (though we think PerfectBee Colony membership is as good as any!). But, regardless of how we research, it is incumbent beekeepers not just to make decisions, but to make informed decision.
Foundational decisions
One area with many choices is that of the frames and foundations to be used in our hives. There are options aplenty here and, without a solid grasp of the underlying factors, this can be one of the more complicated aspects of beekeeping.
This is the focus of this PerfectBee Buyers Guide. Below, we consider both frames and foundation, with the goal to help you towards informed, well-considered choices based on your own needs, preferences and beliefs.
And please keep that last point in mind. There’s no “best answer” here. But there may well be a best answer for your specific needs, which is a big difference. So, if any beekeepers tell you that their way is the only way…well, you know better!
So let’s get stuck in!
What’s your philosophy?
Let’s start not with your bees…but with you. Your choice of frames and foundation isn’t just a practical one. It also reflects your overall philosophy for beekeeping.
There is a continuum of choices, related largely to your views on natural beekeeping. In simplistic terms, natural beekeeping prioritizes choices that allow bees to do their own thing, in an environment reflecting nature as closely as possible. There are many factors to this in beekeeping generally, but your choice of frames and foundation is – well, a foundational choice.
The two ends of the spectrum, which will consider in detail below, are:
- Plastic frames with a plastic foundation
- Foundationless frames – or even just top bars – allowing your bees to create their comb entirely independent of foundation.
As you read through this Buyers Guide, keep your own preferences in mind, as this will largely inform your decisions.
A terminology refresher
A quick word on terminology, since these are sometimes used in less-than-consistent ways.
Box or Super
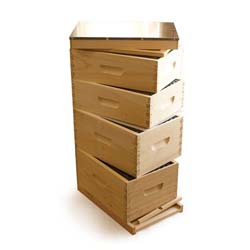
These are the “building blocks” of a Langstroth hive. Typically a hive starts with a single box, generally a medium or a deep. Then additional boxes are added as the colony mature and grows. These are generally medium or deep, too, though some beekeepers like to use shallow boxes for honey supers.
The boxes in which bees create and tend to eggs, larvae and pupae are referred to as “brood boxes”, though they will also contain stores of honey and pollen.
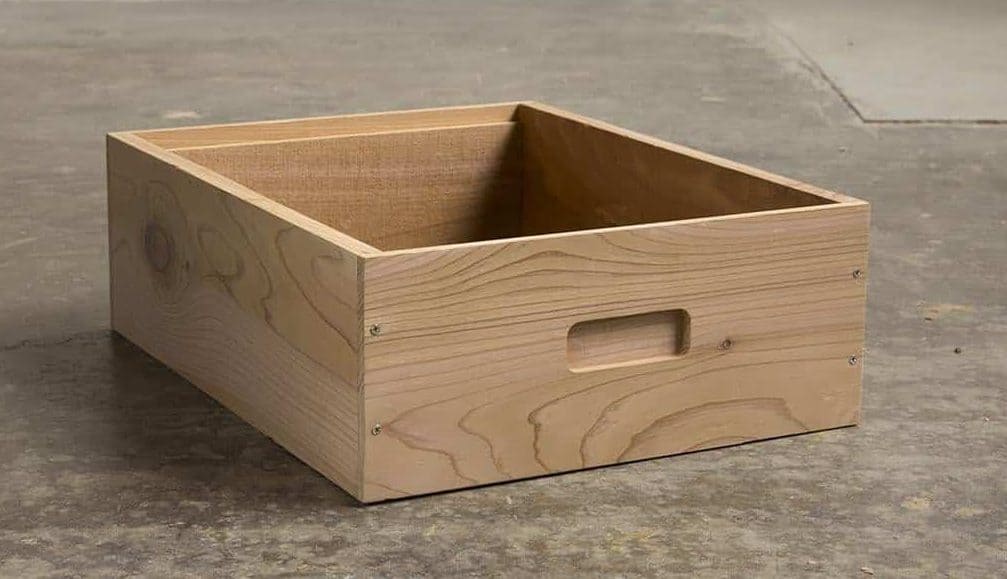
Boxes intended for storing honey reserves are often referred to as “supers”. Some beekeepers simply refer to any type of box in the hive as a super, though the term is most often used in relation to honey supers.
Langstroth boxes are available in two sizes – 8 or 10 frame (“nucs” are smaller and typically hold 4 or 5 frames). 10 frame boxes conform to well-accepted Langstroth dimensions, meaning you can mix and match boxes from various suppliers. This is generally true for 8 frame boxes too, but there can be small differences.
For more details, please refer to our Langstroth Hive and Langstroth Box Buyers Guides.
Frame
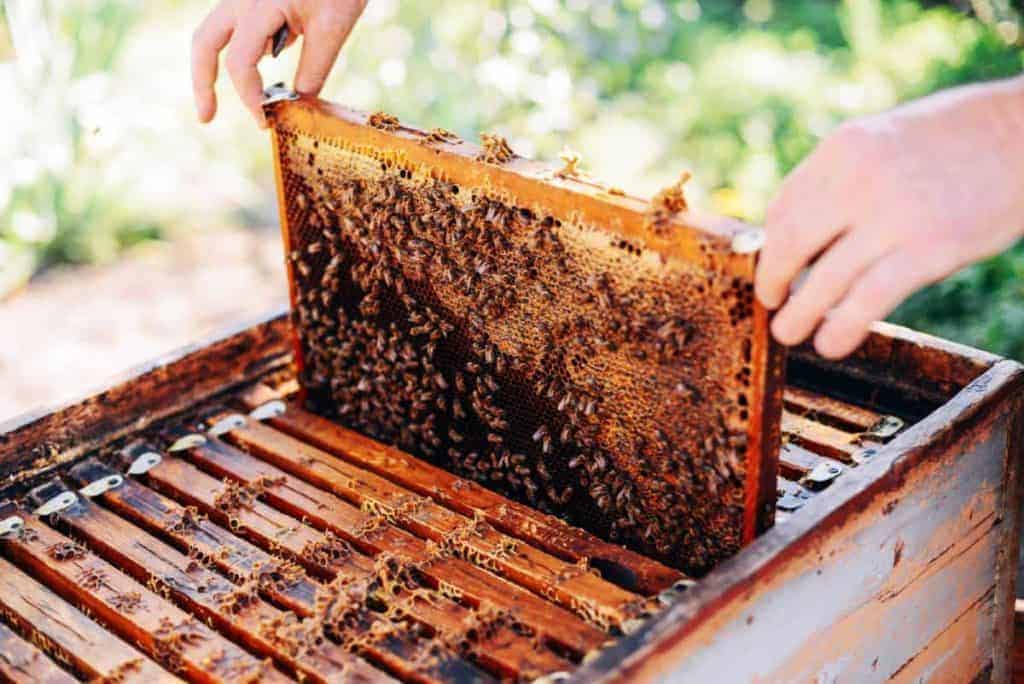
The appropriate number of frames (8 or 10) are placed in the box . The dimensions of the box, the frames and the spacers (which keep the main bodies of the frames apart) are carefully designed to respect “bee space”. Even in a new box it is important to make sure the box has a full set of frames installed from the outset.
Top Bar
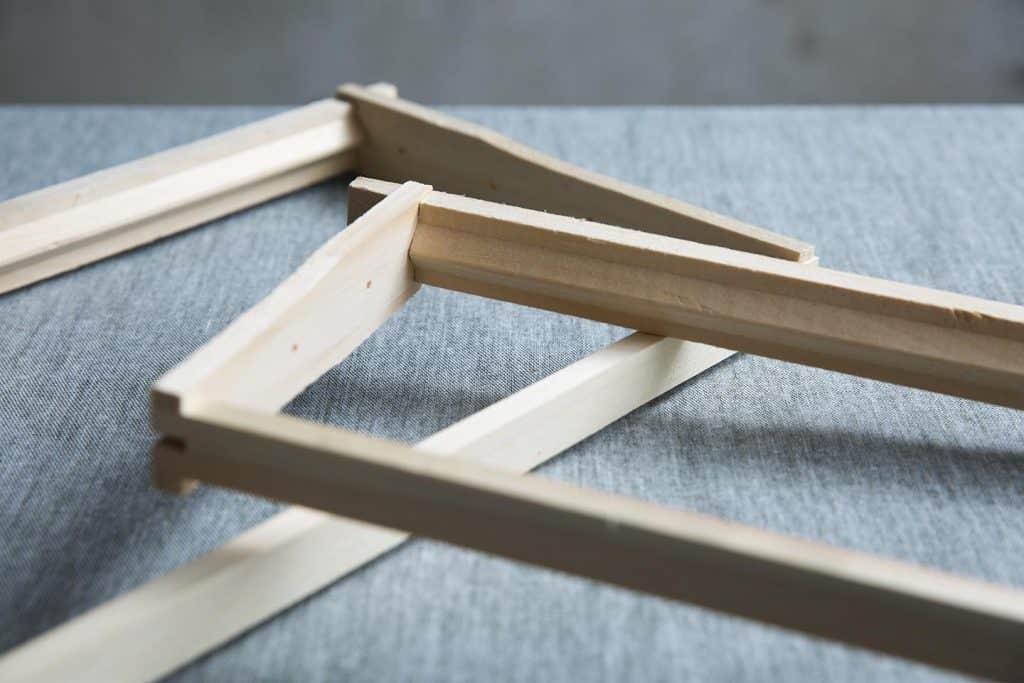
Some beekeepers don’t use a full rectangular frame, preferring to instead just rest a “top bar” along the upper part of each box. This is the approach used with Warre and (reasonably enough!) Top Bar hives.
It isn’t particularly unusual for natural beekeepers with Langstroth hives to use just top bars. That said, the majority of Langstroth beekeepers use the normal rectangular frames.
Foundation
Within the confines of the frame we find the foundation. This is where the real choices start and where most of the action happens!
It’s important to have a clear distinction between foundation and comb. Foundation is the physical plane on which bees create their own comb. We mention this because sometimes beekeepers refer to foundation, when they actually mean the comb created by their bees.
Comb
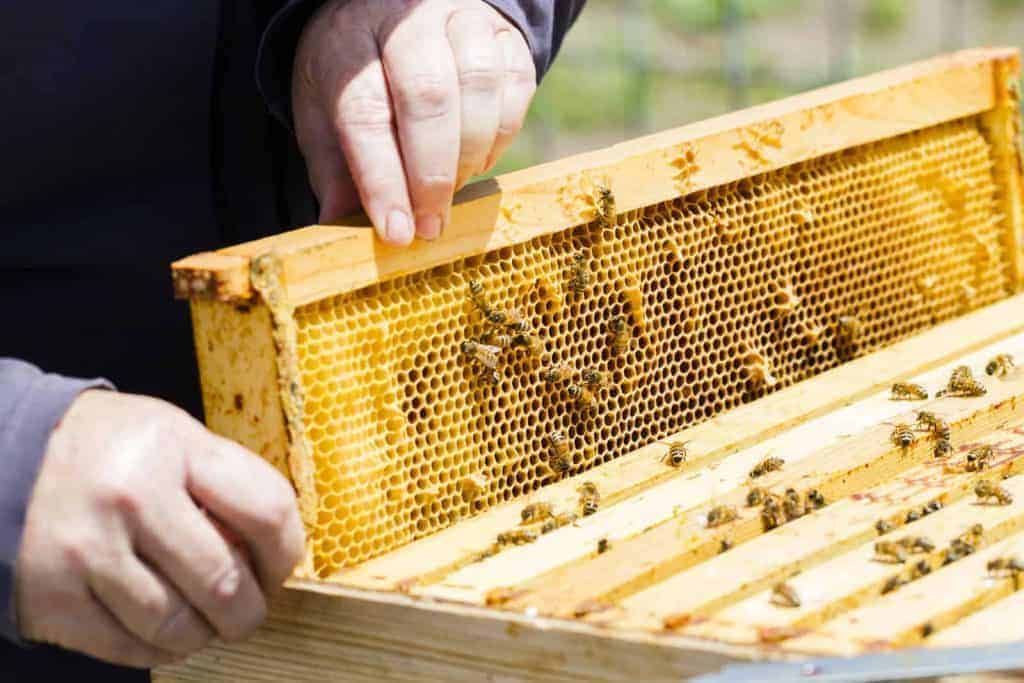
When the layman looks at honeycomb, s/he sees one of nature’s most beautiful creations. There is a glorious consistency to the structure of comb. We recognize the orderly and efficient arrangement of hexagonal cells as a universal symbol of consistency and strength.
Yet, in reality, nature is a little more complex, at least in comparison to the predictable designs we use in logos or other attempts to portray the strength and value of honeycomb, as we will see below.
Frame Choices
Frame Purpose
The purpose of the frame is to hold and support foundation. We can install completely self-contained frames and foundation and just pop them in our hives. Our bees will then create their own comb on the foundation.
Alternatively, many beekeepers prefer to purchase wooden frames and insert their foundation of choice manually (assuming, of course, that they are using foundation). And other beekeepers simply install top bars (the upper edge of the more familiar rectangular frame) and forego the traditional frame.
Generally, the frames you use will be a factor of your opinions and choices about foundation.
Frame Sizes
Langstroth frames are available in three standardized sizes – deep, medium or shallow. The depth varies as follows (the width of all Langstroth frames is 19 3/16″).
- Deep : 9 1/8″
- Medium : 6 1/4″
- Shallow : 5 3/8″
Deep frames are commonly used for brood boxes but are also popular for beekeepers (with hefty muscles!) for honey supers.
Medium frames are also frequently used as brood boxes, but they are a little more commonly used as honey supers.
Shallow frames are less commonly used but, when they are, they are used as honey supers.
Mixing Frame Sizes
The choice of frames is, of course, dictated by the boxes used. Many beekeepers prefer to standardize on a single box depth across the hives in their bee yard, such as using only deeps or mediums. This helps maximize the utility and re-use of the equipment and components you gather over time.
However, it is not mandatory that a uniform box depth is used and hives with a deep brood box and medium honey suppers are quite common. This allows plenty of space for brood, but reduce the physical effort involved during inspections when inspecting and removing upper boxes.
Providing you don’t mix 8 and 10 frame boxes in the same hive, you have plenty of freedom!
Plastic Frames
Let’s now look at the choice of material for frames. At the far end of the “natural beekeeping continuum” are plastic frames. While many beekeepers use plastic frames quite successful, others prefer to keep plastic out of the hive at all costs, on the basis that there are toxins introduced with any plastic. The debate, of course, is whether these toxins are at sufficient levels to cause harm to bees.
Plastic frames are generally supplied with a plastic foundation too, for a complete, pop-it-in-the-hive product.
Wooden Frames
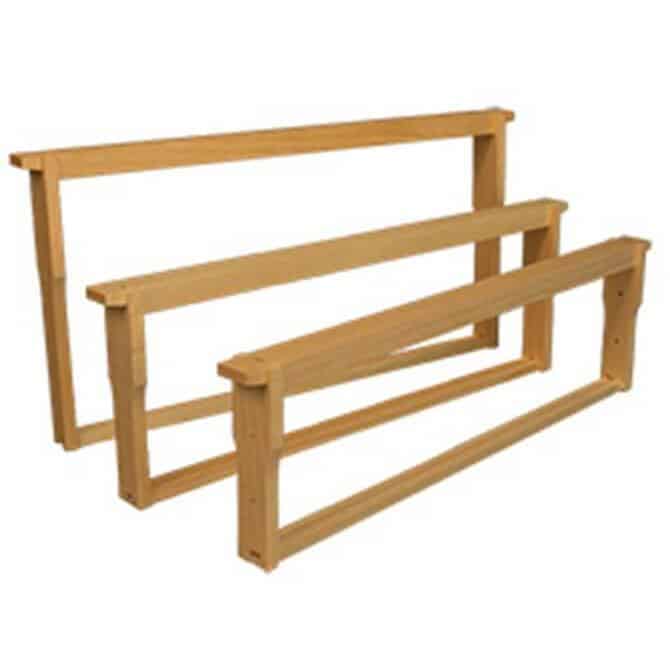
For those wishing to follow a more natural path, wooden frames are used. These can be purchased either assembled or unassembled. We’ll look at assembly below.
An important element to consider with any wooden frame is the strength of the complete unit, since a frame with brood and/or honey can be quite heavy.
Wooden frames are often made from pine, but can sometimes be constructed with cedar, which is a lighter wood.
Foundation
Foundation Purpose
Let’s now turn to the very important topic of foundation. It is foundation where things start to get a tad more complicated, as will see in the rest of this guide.
Foundation can either be manufactured (man-made) or natural. “Natural foundation” in this context, is pure honeycomb in all its glory, made by bees, for bees and in their own way. As we mentioned above, this is more accurately called comb (or honeycomb). Allowing our bees to create their own comb is a key principle of natural beekeeping.
On the other hand, many beekeepers are comfortable use a manufactured foundation. This can be plastic, with or without a layer of beeswax, or a synthetic comb. With the exception of the latter, bees will build their own comb on top of the foundation we provide.
Plastic Foundation
The most simple and low-cost option is a plastic foundation. Often already embedded within a single frame, the foundation has a cellular pattern on which bees create their own honeycomb.
Commonly, plastic foundation is part of a complete plastic frame/foundation, forming a single unit to be simply placed in a box. Plastic foundation can also be purchased separately, to be placed in a frame.
Aside from the convenience, plastic foundation also offers strength and rigidity, by design. For this reason, it is a popular approach for many beekeepers.
A drawback of plastic foundation is that bees will be interfacing with material that they may not find readily accept when they come to draw comb. Of course, there are also folks who dislike the use of plastic in the hive at all, which might be another reason to avoid this approach.
- Pros
- Simply and quick to install
- Rigid and reliable construction
- Cons
- Introduces plastic into the hive
- Bees may not readily draw comb directly on plastic
Although many beekeepers use plastic foundation, it is generally considered more likely that bees will accept and be productive on foundation with at least a thin layer of beeswax. Which leads to…
Plastic, beeswax-covered foundation
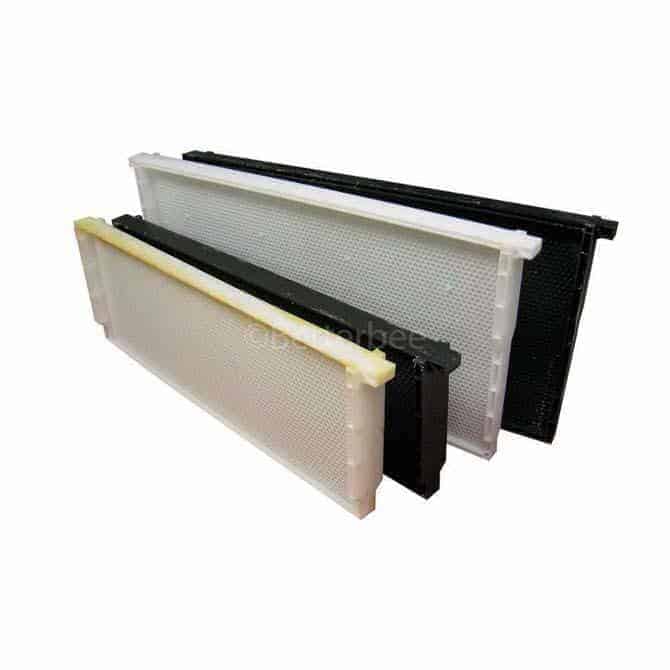
A more common option is a plastic foundation, covered with a layer of beeswax. This is considered a key factor in kick-starting bees, as they build comb over the foundation. Their direct interaction with beeswax is less “jarring”, so they build comb more readily on this layer.
In fact, this can be taken a stage further with the availability of foundation with an extra heavy layer of beeswax. This is a popular option and has been seen to increase the speed with which bees build their comb.
Although more time consuming and less-likely to produce a consistent covering, some beekeepers like to purchase plastic foundation and then “paint” melted wax on both sides, which then dries to form that important layer.
- Pros
- Bees more likely to draw comb, as compared to plastic foundation
- Simply and quick to install, unless beeswax is applied by the beekeeper
- Rigid and reliable construction
- Cons
- Introduces plastic into the hive, though the impact on bees is less direct
Beeswax foundation
Moving further towards a natural beekeeping philosophy , but without going completely foundationless, is the use of a pure beeswax foundation. This approach allows the beekeeper to avoid the use of plastic in the hive, which is important to many. The beeswax layer is inserted into a frame, typically wooden, to form the complete unit.
A very important aspect of the use of a simple beeswax foundation is that it can be very fragile. This isn’t just a factor after deployment in the hive, when the beekeeper should be careful when inspecting frames, but also in transit after being ordered. This is particularly important in cold weather, though foundation damaged in transit can often be salvaged with the judicious use of elastic bands to hold it in place within a frame!
- Pros
- More aligned with natural beekeeping, though still using a foundation produced artificially
- Avoids the use of plastic in the hive
- Readily accepted by bees to draw comb
- Cons
- Can be very fragile and may break in transit or in use, if not handled carefully
Crimped Wire Foundation
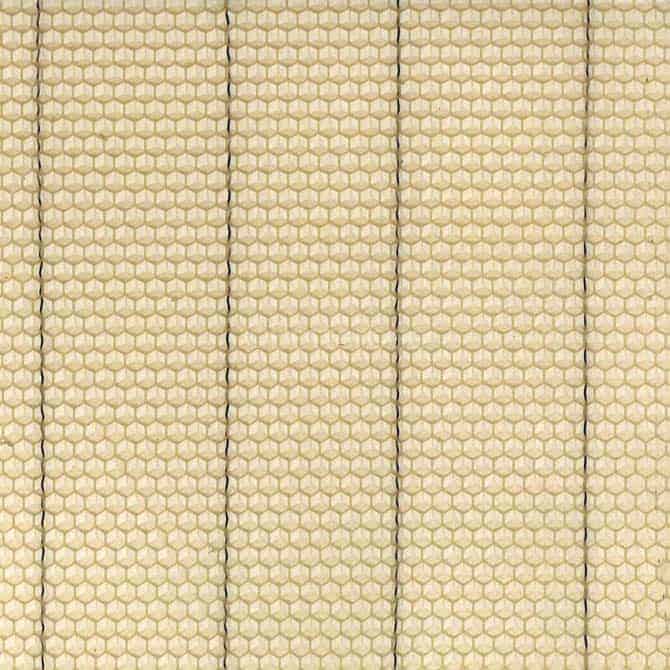
Due to the fragility of beeswax, especially in the thin form necessary to insert into a frame, crimped wire is often embedded vertically in the beeswax, for a more rigid structure. This tends not to upset natural beekeepers, since there is still no plastic in the hive!
In relation to the use of this type of foundation, frames are available with either a wedged top or a grooved top.
Wedged-top / grooved bottom frames.
These frames have a removable wedge inserted into the top edge. When assembling such frames, the wedge is removed and crimped-wire foundation, with hooks, inserted. The upper edge of the wax foundation features hooks to lay across the gap exposed when the wedge is removed. When in the place, the wedge is re-inserted and wedge nails used to secure this in place.
The lower edge of the foundation rests in a groove at the bottom of the frame, held in place by the grace of gravity. The result is a solid, reliable frame, suitable to support the heavy weight of brood or honey.
Grooved-top / grooved-top frames.
When plastic foundation is used, which is more rigid than beeswax, a groove on the top bar makes insertion easy, by slightly bending the plastic as it is inserted into the top and bottom grooves.
Crimped wire foundation is available with or without hooks on one of the longer edges. This is again related to increasing the strength of the structure.
- Pros :
- Rigid foundation
- Avoids plastic in the hive
- Readily accepted by bees to draw comb
- Cons :
- Can still be fragile, though not as much as a simple beeswax foundation
Synthetic Comb
The creation of comb is costly to our bees. Very costly!
Worker bees have 8 pairs of wax glands under the abdomen, from which they create flat wax scales around 3mm long. This takes effort and energy and when multiplied by the huge number of cells in each frame, it’s clear that this is a major burden on the colony as a whole.
Virtually all beehives, whether installed with or without foundation, feature large expanses of comb created by bees.
Recently, though, interest has grown in synthetic comb. This is quite different to other types of foundation. The foundation also provides the comb – bees do not need to create their own comb over the synthetic comb. This saves bees an enormous amount of time and energy.
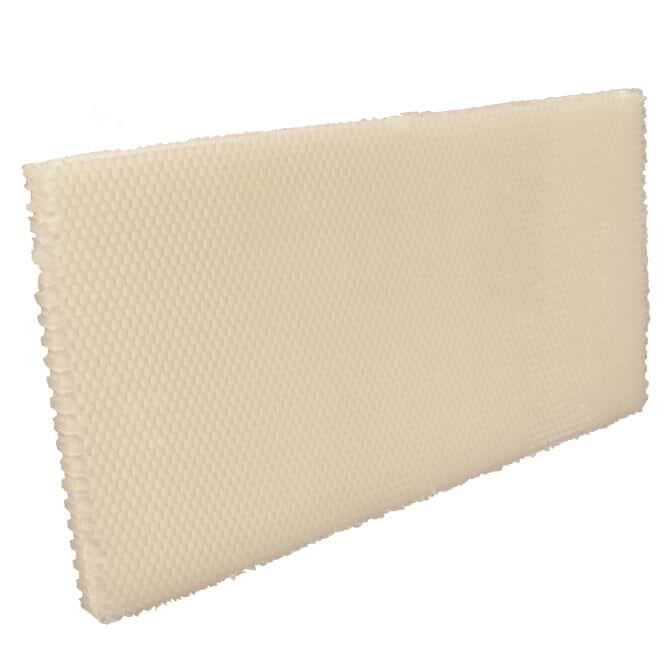
Synthetic comb is similar to drawn comb and made from food-grade, virgin, synthetic wax, similar in composition to beeswax. When added to a frame, frames with synthetic comb offer immediate space for brood or the storage of resources, avoiding the time and resources necessary to draw out comb.
There are many scenarios where synthetic comb can be used, but it is particularly common to accelerate the progress of a newly installed colony with a package or nuc, where the first order of business for bees is to “build their home”. Since there is reduced need to create their own comb. a tremendous of time and effort can be saved for the bees.
Foundationless beekeeping
Finally, we reach the natural beekeepers realm – foundationless beekeeping. As we have seen, this allows our bees to create their own entirely natural comb.
In a Langstroth hive, this is often achieved by using foundationless wooden frames, featuring a “starter guide” on the top bar. Alternatively, regular wooden frames with a wedge-top are often used along with starter strips (see below).
For Warre and Top Bar beehives, top bars, not full frames, are used.
Assembling Frames and Foundation
Now we understand our options, let’s take a look at the assembly and preparation of frames and foundation.
Assembled Frames
The most straightforward and quickest way to prepare a frame is to receive it pre-assembled. The frame may or may not include foundation.
Unassembled Frames
To save some of your hard-earned dollars, consider ordering unassembled frames. This means you receive four pieces for each frame (the top and bottom bars, plus the two side bars). Your job is to nail them together. This is a reasonably simple process but there are two things to keep in mind.
First, you are creating a structure that will need the rigidity to support a pretty heavy weight. For example, each deep frame fully laden with honey can weigh 8 lbs or so. This, of course, is why that 10 frame deep honey box is likely to strain you at each inspection!
To maximize the strength of the frame it’s important to ensure each of the corners are square and they are then nailed firmly in place. With four edges for each frame this can actually be quite a challenge.
The second issue is one of time. With assembled frames you can essentially just pop them into your hive. Not so with unassembled, of course. Each corner will need one or two nails. That’s up to 8 nails per frame. You have a 10 frame box? You are up to 80 nails. And you want to prepare three boxes?
You get the picture.
Thankfully there is a neat solution to both of these issues (the integrity of the frame and the time taken to build it).
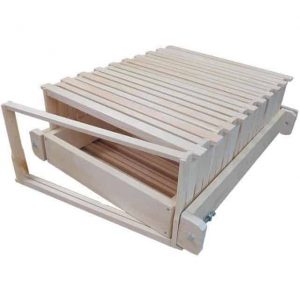
The Frame Assembly Jig is a popular tool to help build many frames quickly, by holding the edges of multiple frames in place and squared while you hammer in the nails.
Installing Foundation
Depending on your choice, you may or may not need to install foundation in your frame. Again you have choices.
Plastic Foundation
As we saw, this is often supplied with a plastic foundation and can be simply placed directly into the hive. Some beekeepers like to paint on a later of melted beewax, which can take a little time.
Alternatively, plastic foundation can be purchased with a layer of beeswax (regular or with an extra heavy later). These are typically placed directly into a foundation with a grooved top and bottom. A slight bend of the foundation, while being inserted, pops it into place.
Beeswax Foundation
The fragility of this type of foundation demands the beekeeper install carefully. Generally, crimped wire foundation is recommended, to increase the rigidity.
When such foundation is used with hooks, which are then held in place behind a nailed-in wedge, the result can be a reliable overall frame, while still keeping plastic out of the hive.
Other Components
Finally, let’s look at some of the other options and products for the use of frames and foundation.
Nails
Nails are available for specific elements of the frame-building process, including to construct the frame itself and to nail back wedges to wedge-top frames.
By the way, nails are also available for the construction of unassembled boxes.
Foundation Support Rods
To add further strength to frames using crimp wire foundation, horizontally aligned support rods can be used. Two rods are installed across the foundation, regardless of frame size, and your bees will simply draw comb over these.
The result, when combined with the vertical wires embedded in the foundation, is a solid and reliable frame, while retaining a beeswax foundation for your bees.
Starter Guides
When “going foundationless” your bees will draw their own comb from the top bar of a frame. You are leaving them to their devices in virtually respects. That’s generally the proverbial good thing!
But sometimes they need a little hint. That’s the purpose of starter guides. These fit into wedge-top frames and form a neat little “V” pointing downward. Bees will take often take, as the name implies, as their starter and start building comb directly down from the strip.
Note that starter guides may move things along a little quicker but do not significantly reduce the chances of cross comb as the comb is extended further down. So this remains something for which the foundationless beekeeeper should track and address, as necessary.
Drone Frames
A common approaching to combating the threat of Varroa is the use of drone frames. These feature a pattern of larger cells than normal foundation. This encourages the creation of drone cells, in which the queen will lay unfertilized eggs, thus creating queens.
Drone cells are more attractive to Varroa, due to their larger size and the longer time taken for drones to emerge from the cell. In short, this is a much better place for the female Varroa to lay eggs.
Beekeepers can take advantage of this to install drone frames as a “bait” for Varroa. The concept is described in our Colony Dispatch article The Use of Drone Frames to Combat Varroa (members only).
